


Welcome back to school! Now that class is back in session and you’re getting into the swing of things, it’s time to make sure your lessons are engaging your students. Here is our collection of fun themed content to spruce up those lessons for the first month back:

- Short Vowel Sort: In this lesson, students identify short vowel sounds as teachers check for understanding with the MimioVote™ assessment system. The lesson can also be used with the MimioMobile™ app so that students can collaborate.
- Lesson Renovation | CVC Words: This renovated lesson uses the CVC spelling pattern to teach students short vowel words. It's a great lesson to use with the MimioMobile app or with multiple students working together at the MimioDisplay™ touch display!
- "Get More" with Long Vowels: These “Get More” lessons include many of the latest MimioStudio features to teach long vowels with more engagement, interactivity, and quality instruction.
- "Get More" with Short Vowels: Utilizing great MimioStudio features like clone, animate, and MimioStudio Gallery flash animations, our "Get More" lessons are a captivating way to teach your students about short vowels.
If you enjoyed the above content, consider joining MimioConnect™, our interactive teaching community, to access more of our valuable lesson content and resources. Click here to register today!
Creating Next-Level Lessons
If you read our blog last month, you’ll remember the all-too-realistic bad dream teachers may experience as the start of school approaches. Now that you are getting into a groove and have gotten some of the basics down (if you did your homework!) for using the MimioStudio™ classroom software to work with interactive lessons, let’s take it a step further.
Creating your own lessons using MimioStudio—or adding your own spin to already created lessons—can be simplified when using the right tools. Just like any home improvement project, the right tool makes all the difference in how you accomplish a task. While there are many great tools available to use in MimioStudio, some are definitely utilized more as you craft your next classroom masterpiece. Here are three that will help you take your lessons to the next level:
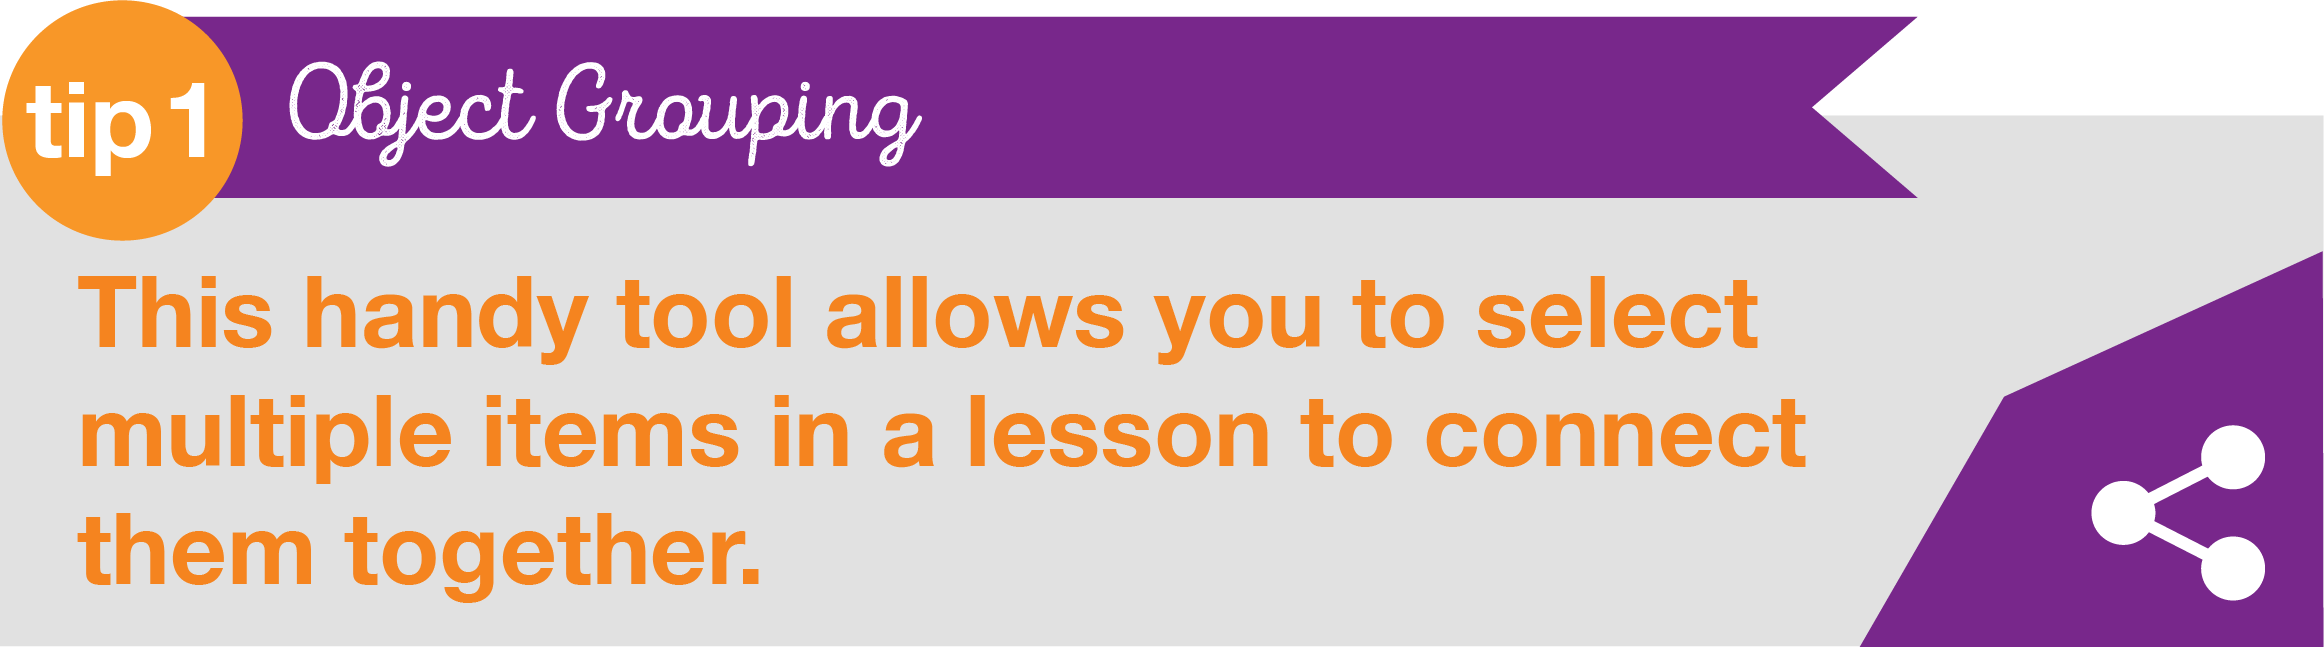
Object Grouping: This handy tool allows you to select multiple items in a lesson to connect them together. You can group just about anything you would have in a lesson, from graphic objects and text to multimedia and animations. By grouping objects, you can make things much easier as you move design elements on a lesson page or create great interactive elements for students to manipulate.
To group objects, select multiple items, then choose Format from the top menu in MimioStudio > Grouping > Group. You can also right-click once the items are selected and choose Grouping > Group. If you find you need to split the items apart in a lesson that may be already grouped, you can ungroup them in much the same fashion by selecting Format > Grouping > Ungroup (or right-click and choose Grouping > Ungroup).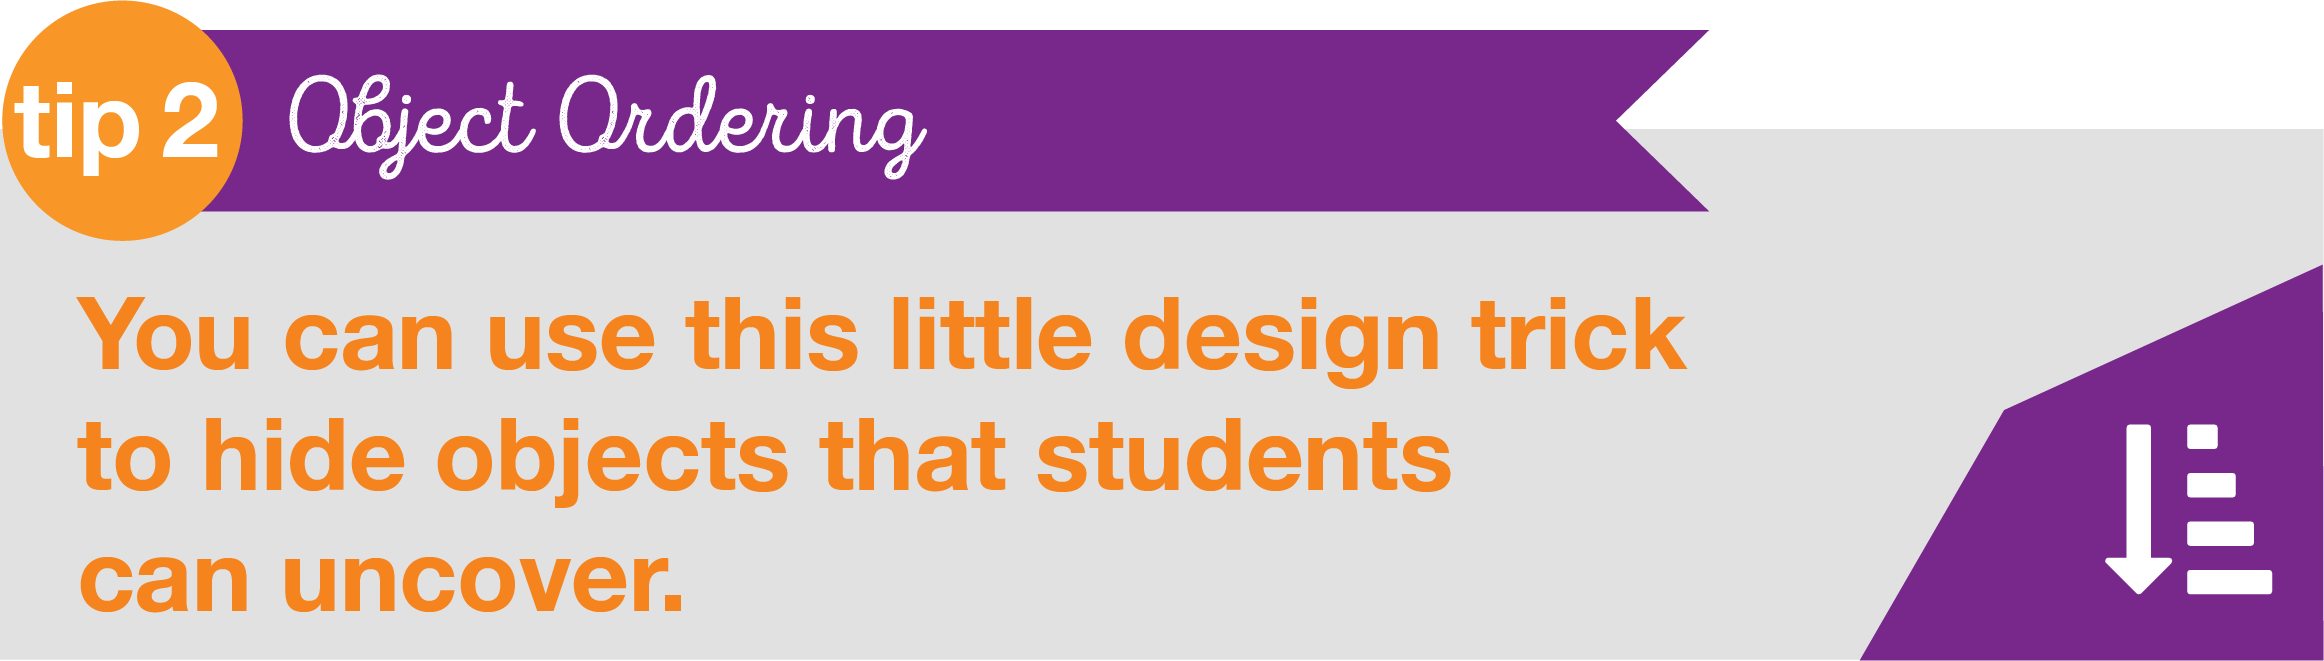
Object Ordering: As items are added to a lesson page in MimioStudio, they are layered one on top of the other. There are many cases when you want an object to go behind another object—you can use this little design trick to hide objects that students can uncover. Another neat tip is to create objects that students can manipulate. If what they choose is correct, it might remain on top of another object. If incorrect, it would go behind another object when they move it. Using object ordering is a great way to plan a lesson with a lot of interactivity and feedback built in.
To use the Object Ordering tool, select an object that you want to change the relative layering of on a page. Let’s say there is a box that you want to go behind some text that was already created. In this example, select the box, then choose Format > Order from the top menu in MimioStudio. You will see options of Front, Back, Forward, and Backward. Choosing Front will bring the selected object all the way to the front (or the top-most layer). Choosing Back will move the selected object all the way to the bottom-most layer. If you choose Forward or Backward, it will move the object one layer at a time, requiring repeated steps to get the object where you want it. Depending on the number of objects on a page, it might take a few steps to get an object to the correct layer using Forward or Backward.
Going back to the box in front of the text example, I would select the text and choose Format > Order > Front. I could then move the text box over the box and group them together as one item, if that was the intent of a lesson element. You also have the ability to use the right-click method once an object is selected, then choose Order, and then your choice. The object ordering tool is a powerful feature, allowing you to create some dynamic elements to a lesson as well just using it for basic lesson design. 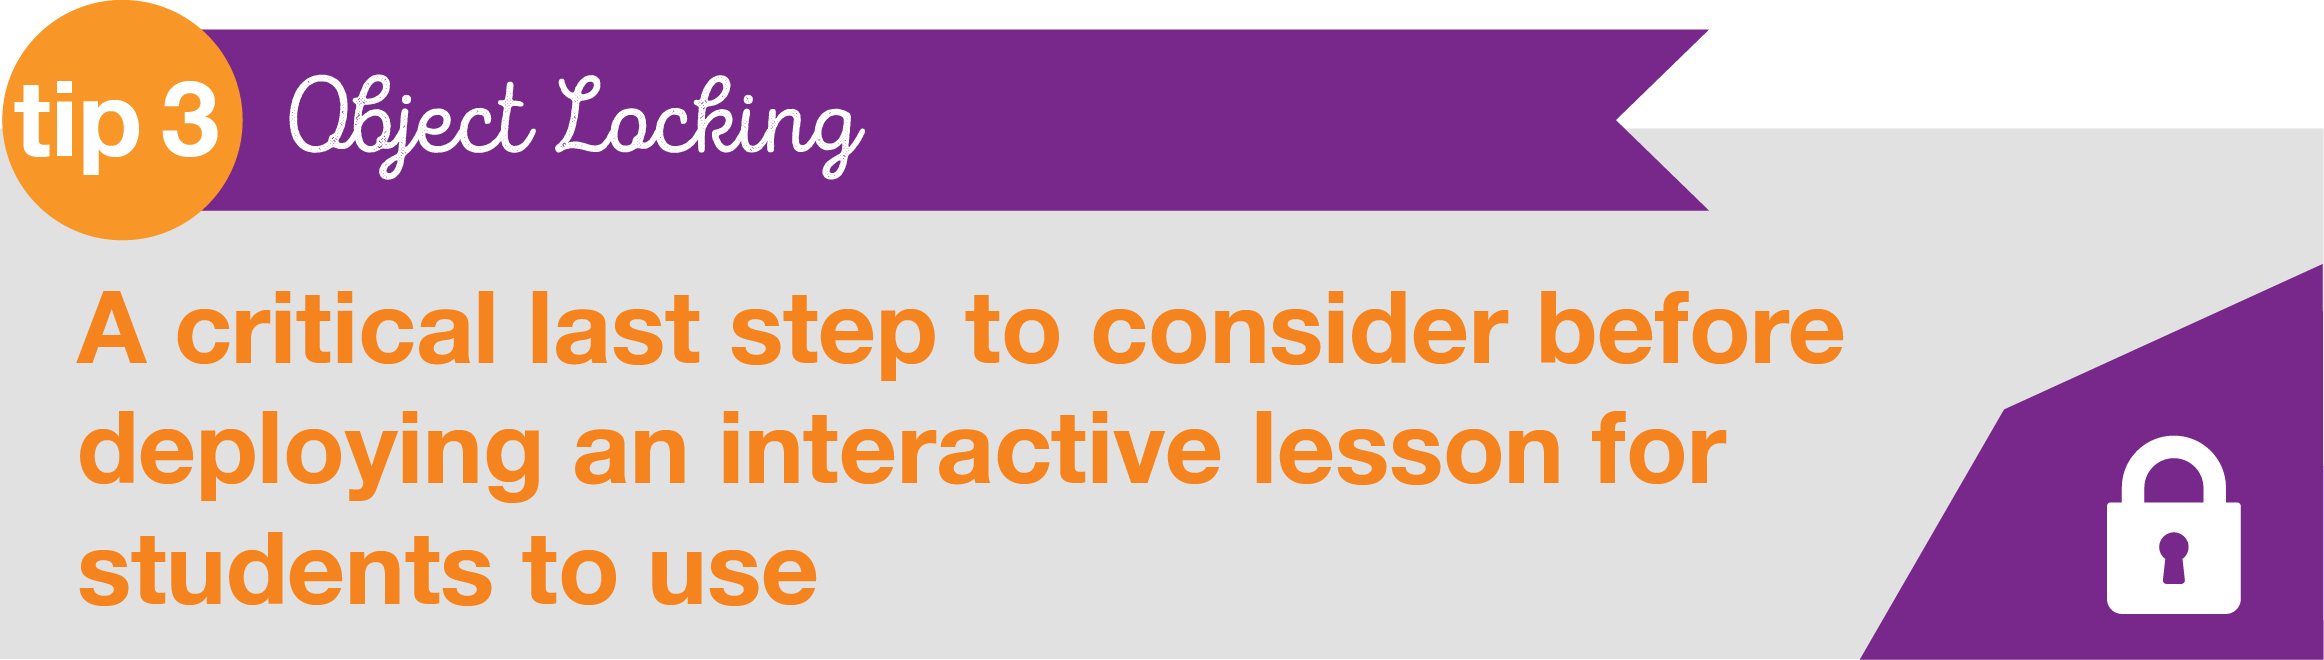
Object Locking: One critical element to creating or modifying a lesson is to make sure it achieves your learning objectives while students or yourself are using it. One of the biggest failures seen in some lesson design is when a lesson is being used and objects on a page move out of place while being manipulated (when they aren’t supposed to). Object Locking is a critical last step to consider before deploying an interactive lesson for students to use. While there are many times you have manipulatives built into a lesson that are intended to be moved, other times there are supporting elements that shouldn’t be moved. To fix items on a lesson page so they can’t be moved, get in the practice of locking them on the page.
Start by selecting the objects that you want to lock on the page—you can select multiple objects at a time to lock on the page by dragging your cursor around each to select them, or hold down the Control key on your keyboard as you use your mouse to select multiple objects. Once selected, choose Format > Locking > Lock from the top menu, or use the right-click method and then Locking > Lock. If you try to select the objects on the page now, you’ll find you won’t be able to do so. If you need to make adjustments on a page and you can’t select them, you’ll need to unlock them first. From the top menu, choose Format > Locking > Unlock All (or right-click Locking > Unlock All). All items on the page will now be unlocked and free to move, delete, or change in any way.
These are just the beginning of the set of tools available to you in your lesson creation and instruction arsenal. You can learn more about these and more in our upcoming Quick Learn sessions in September:
- MimioStudio: Formatting 1 on September 11 and 24 at 7:00pm
- MimioStudio: Formatting 2 on September 12 and 25 at 7:00pm
Interested in checking out more of the Quick Learn sessions offered this month? Click here to view our complete list!


