
If you want to learn modeling, MyStemKits STEAM Design Challenges are definitely the way to go about it. The activities guide you step-by-step through the process of creating a variety of objects, while equipping you with the skills necessary to build your own unique constructions. To supplement that collection of resources, MyStemKits has assembled a general “tips toolbox” of things to consider and strategies to employ for successful 3D modeling.
Getting Started
Design – Before you start modeling, you need to know what you’re going to build. Depending on the complexity of the object and your modeling style, this planning stage can be anything from a rough sketch to a series of technical drawings in orthographic (front, side, top, etc.) views. No matter how detailed you get, it’s important to plan dimensions and scale before getting started. Also consider the limitations of 3D printing and make sure that your design is optimized for the manufacturing method. Since objects must be created, printing times will vary. You can find estimated print times for our kits on the MyStemKits website so that you can properly plan enough time to print all the items needed before use in the classroom. For example, the Loaded Coins Kit takes 30 minutes while the Ball Bearing Catapult Kit takes 2 hours.
Basic Shapes – Next, choose what basic shapes you will use to create your object. Typical starting shapes are cylinders, cubes, and spheres, but others will likely be available in your modeling software. If you’re not sure where to start, explore the options and limitations available in that specific program. There’s also a good CPALMS perspectives video on the math that goes into this process and how I’ve chosen which shapes to use while modeling: 3D Modeling with 3D Shapes
If you’re using a more-advanced parametric modeling software such as Fusion 360 or AutoCAD, you can import your 2D technical drawings and build your object.
Modeling Strategies
Move, Rotate, and Scale – No matter which software you choose, these three basic operations are vital to orienting, aligning, and customizing your shapes. Make sure that as you start building your basic shapes, you are creating your object in the correct scale!
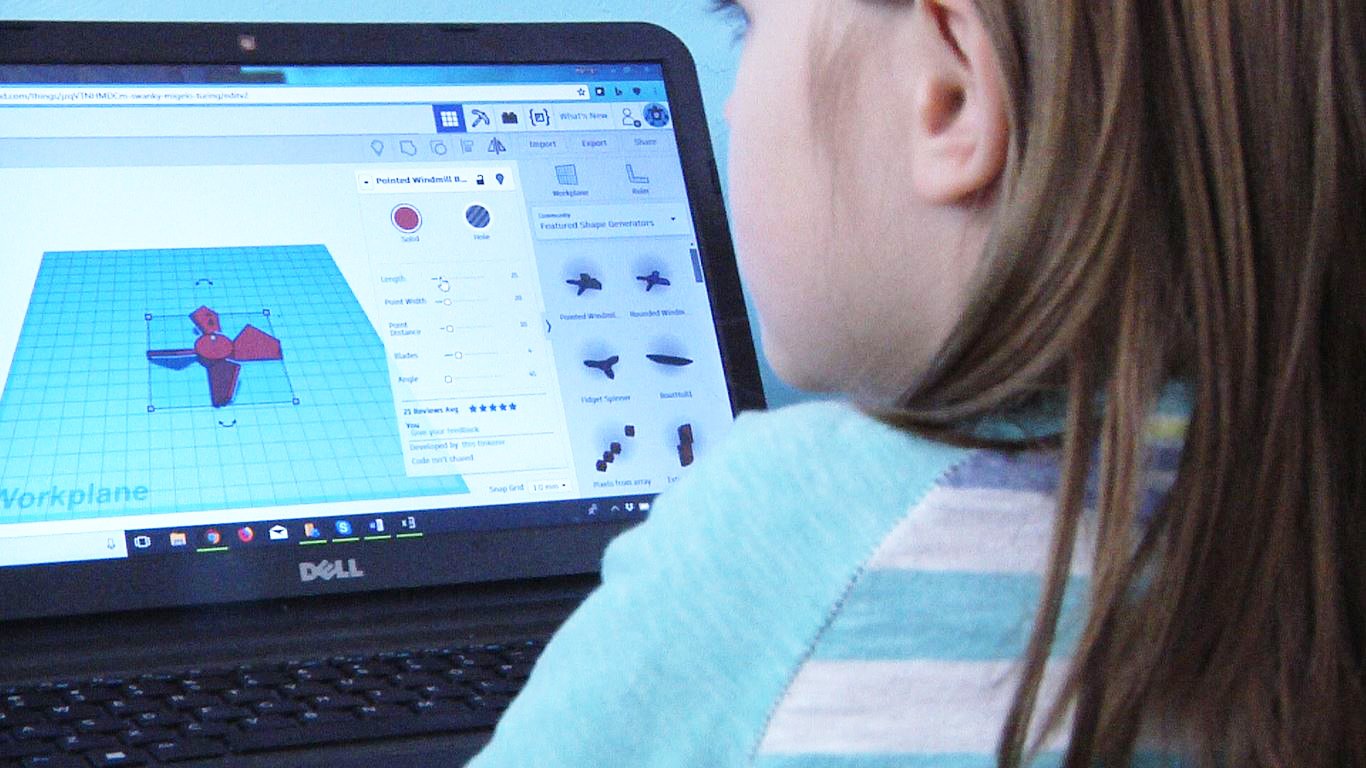
Some programs such as Tinkercad build in advanced tools to assist with the precision of these operations. For example, their Align feature allows you to quickly line up multiple objects along their edges or centers.
Group/Boolean Operations – Another especially useful element, particularly in parametric modeling, is grouping objects together. Objects can be grouped together in a variety of ways known as Boolean Operations.
In simpler programs like Tinkercad, you can either group multiple “Solid” objects together into a single object or group “Solid” objects with “Hole” objects which extract from the “Solid” objects to create indents or holes. In more advanced subdivision and parametric modeling, these are often called “Union” and “Difference” respectively. There is also a third option called “Intersect” which only preserves the part of the model where the two objects overlap.
Extrude and Shell – An absolutely vital part of 3D modeling in advanced software, these two strategies allow you to create complex geometry. Extrude is taking a part of a model and pulling on it without affecting the nearby geometry. Think of it as taking a single key on a keyboard and making it taller than the rest of the keys. Extrusions can happen outward, inward, or along the same plane.
In subdivision modeling, you use extrude extensively, including creating object shells (or hollow objects), such as in our Boats Kit. In parametric modeling, you can use a Shell feature directly to create object shells. The extrude approach is used to add depth to objects and is how you translate 2D technical drawings into 3D objects.
Loft/Bridge – Available in more-robust modeling software, this tool allows you to combine multiple objects by creating geometry “bridges” between them. Depending on the software, this will most likely be called loft or bridge and oftentimes, you’ll be able to edit how the computer goes about doing this. For example, this was used when creating our Allometry: Humans Kit to combine the arms, legs, and head (which were built separately) to the torso. As opposed to Group/Boolean, this technique is better for creating completely smooth and editable intersections and is preferred for organic objects and smooth curves.
Mirroring and Patterning – A good time-saving technique in any software, look for ways to use mirroring and patterning to increase modeling efficiency. Programs such as Tinkercad have a Flip feature, and many other software programs allow you to edit the objects along an axis of symmetry so that both halves get built at the same time.
In many advanced modeling software programs, you can even create linked geometry so that when you adjust one the rest are also adjusted. Tinkercad has built a brilliant feature into their Duplicate option where objects that are duplicated one after the other with no other edits in between will follow the same translations and rotations of the first duplication.
Smoothing Edges – There are a variety of smoothing techniques that can be used to create more professional-looking models. In parametric programs, look for options such as Fillet and Chamfer; in subdivision modeling software, add modifiers such as Bevel and Subdivision Surface. These options are not available in some of the simpler software, but even Tinkercad has certain resolution and Bevel options built into many of their Basic Shapes. In general, we suggest adding a small bevel or fillet to the bottom edge of flat geometry to make it easier to remove from the build plate post-printing.
Prepping for Printing
Orientation – Once you have your model ready to go, figure out how to orient it for the best success in 3D printing. Hopefully, this was planned earlier in the design stage, so you already know how you want this to print. As much as possible, orient the object so that it will have a nice flat surface on the build plate with minimal overhangs. If supports are going to be required, plan where they will be attached so they’re minimally invasive of the finish, as supports are often a bit difficult to remove cleanly.
Exporting – Next, export your object out of the modeling software and into a format that your 3D printer can understand. Most 3D printer slicing software can understand .stl or .obj file formats, so export as one of those.
Supports – If your design needs supports, you can either manually add them in a free program like MeshMixer or let your slicing software add them for you. Supports will need to be added to overhangs which are sharper than approximately 45 degrees for best success printing. If you manually add supports, re-export your file with the supports built in.
You are now ready to set up your slicer settings and start printing the 3D models you engineered yourself!
Boxlight has education 3D Printers and 3D printable STEM curriculum that can be used for in-class and remote learning. To find out more, go to mimio.boxlight.com/robo.
If you’d like to learn more about the MyStemKits activities and kits, check out these videos: MyStemKits’ Kits Introduction Videos


