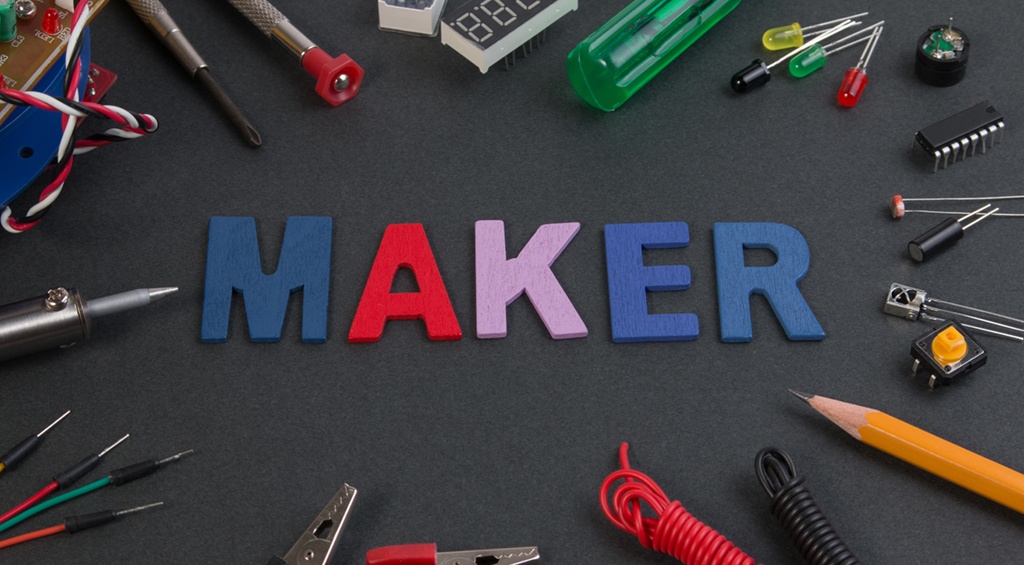
Creating a makerspace in a school or classroom is a great idea for many reasons. In a well-run makerspace, engagement is high, critical thinking is taking place, and collaborative problem solving is occurring among students. What’s not to like?
But the prospect of getting a makerspace off the ground can be overwhelming. We are in the process of launching one in our school next year and have learned a few things along the way.
Here are some suggestions that may help others as they develop their makerspaces:
Leadership: For me, this was the starting point of our makerspace. We have a dedicated, forward-thinking core of teachers who can see the power of creating this space for our students. Not all staff members have been involved in the early planning stages, and that's ok. Our leadership group will get everything in motion, and we hope that others will see the power and join in.
Even if the space is going to be shared, it’s best to have a designated leader or leaders to manage and make final decisions about the space. When shared space isn’t owned, it can become unorganized—think about your school’s teachers’ lounge. Someone will need to monitor equipment that needs to be repaired, supplies that need to be ordered, and messes that need to be cleaned. It is also helpful for this leadership team to have insight into how to operate and troubleshoot the equipment.
Do some homework: Our lead teachers traveled to other schools and observed what they had in place for their spaces. We found some in classrooms, some in shared common areas, and some in libraries. By seeing what worked best in each of these buildings, we were able to formulate a plan to put into action in our school. Our plan was partially about room arrangement, furniture, and equipment, and partially about the different skills we wanted students to learn.
Start with the standards and outcomes: As we began to formulate the layout and plan for the area, we started with the standards we wanted to implement in the curriculum (or finding curriculum if we didn't have any). We did not want this area to be viewed as a playground, but rather a lab for learning and collaboration. This will be an ongoing process because we have different grade levels all sharing the same space. We hope to develop lessons for each grade level for the different areas.
Allocate spaces for the outcomes: Once we had our broad plan and vision, we started to look at each individual space and what we would need. One example is our video production area. We created a play with a green screen wall and news desk in front of it. We looked at lighting and sound, we looked at doors and windows, and we looked at software and hardware. This took a great deal of collaboration and will continue to be a work in progress, but we wanted an “ideal” for our starting point to guide us.
Throughout this process, we have been fortunate to be conducting a large construction project. Because of this, we were blessed with input about parts of the room that we normally would not have. With that said, equipment was not part of the budget, so we had to think about funding the equipment we needed to round out the space. Which brings us to the next suggestion!
Budget is important: This probably goes without saying, but we had to develop a budget for what we wanted and what we thought we could afford. Again, we started with the ideal using the philosophy that we could always subtract from the plan if needed. We also looked around the school to determine what we already had that could be included in the shared space. Next year, we will continue to look for sources of funding, and used this article as a guide for how to fund more than what we currently have. We know we want some things, like a new touch table, and are excited to find ways to make it happen.
Putting it all together: Prior to the first day of school, our leadership team will need to stock and organize the makerspace together. We want it ready to go with common expectations for students at the start of the school year. We will reflect on the progress we are making, the standards we are teaching, and the engagement of the students. Our makerspace will probably never become a “finished product,” but we hope it will teach students meaningful skills beginning next year.
Thinking about getting started with your own makerspace? Make sure you have a clear idea for why you want to create the space in your school. Don’t just rely on being cool, trendy, or even innovative—do it with good reason. It’s a lot of work and well worth the struggle to make a meaningful learning experience for our students.
Check out our other Makerspace blogs:
The Maker Movement in Education: Creating Creativity in Your Students
Makerspace Hacks: Ideas for Saving Time and Money
How to Create a Makerspace in the Classroom
What Cardboard Taught Me About Motivation and Learning
The new school year will be here before you know it! Get a head start with helpful teaching tips, lesson ideas, and the latest EdTech trends all summer long by subscribing to the Educator blog.


