

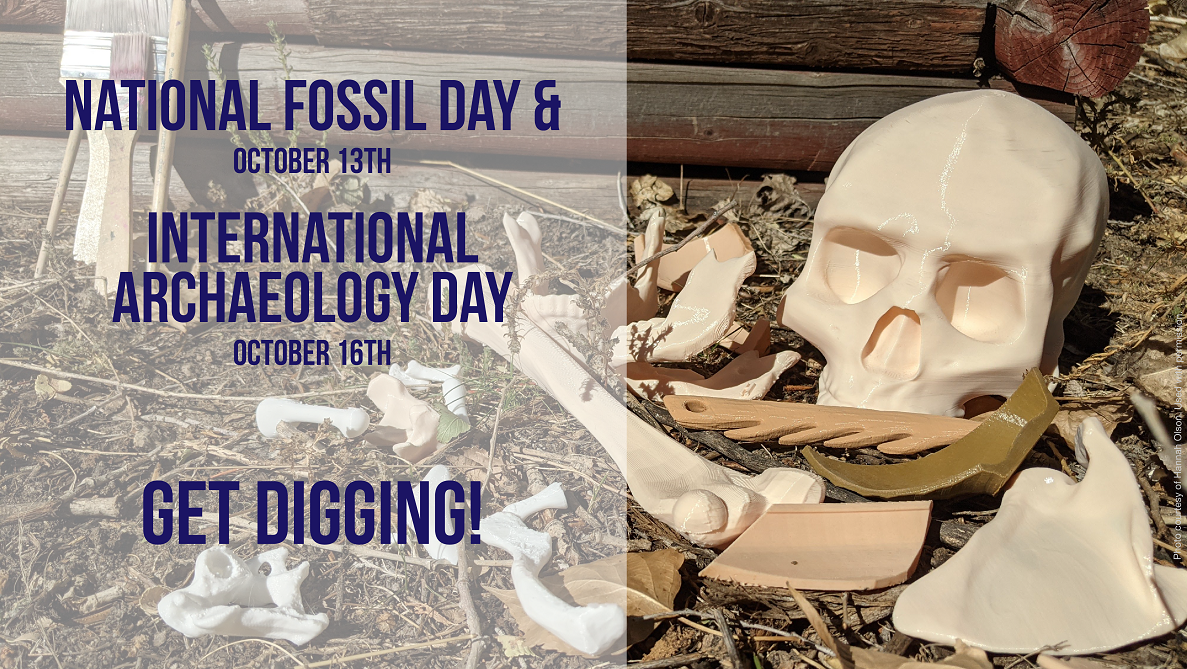
October is a great month for creating hands-on, engaging, and fun learning experiences where your students can get their hands dirty! Not only is the weather pleasant in much of the world, October has both National Fossil Day in the United States (October 13th) and International Archaeology Day (October 16th). All of these components make for a perfect opportunity for your class to really dig into learning.
The great thing about these two special days is that there are various ways you can celebrate them, all while integrating your core subjects. I’ve compiled a few ideas of how you can use your 3D printer to help bring archaeology and paleontology to life. These activities will take some time to plan, set up, and print, so let’s get started!
No matter which of the days you choose to focus on – Fossil Day or Archaeology Day - it’s important to distinguish between the two and their related careers. Start with a class discussion to find out if students know the difference between what archaeologists and paleontologists do. Perhaps review what a fossil is - the preserved remains or impression of a formerly-living thing from a past era. To help clarify the distinction, using your interactive display or whiteboard, create a list of ideas for each profession or do a sorting activity of items that each type of scientist would look for and find. This can be done with pictures, drawings, or words based on the age of your students. These discussions will eventually lead to the conclusion that only paleontologists work with fossils, whereas archaeologists also look at more recent remains and artifacts in their study of human civilizations.
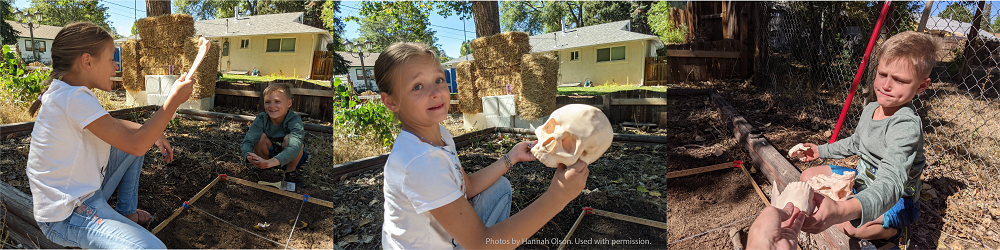
When your students understand the differences between archaeology and paleontology, it’s time to “dig” in! To enhance the experience and help science come to life, I recommend setting up an artificial dig site for your students where they can unearth fossils and prehistoric remains as paleontologists, or human bones and artifacts as archaeologists. Of course, you’ll have to prep your dig site in advance.
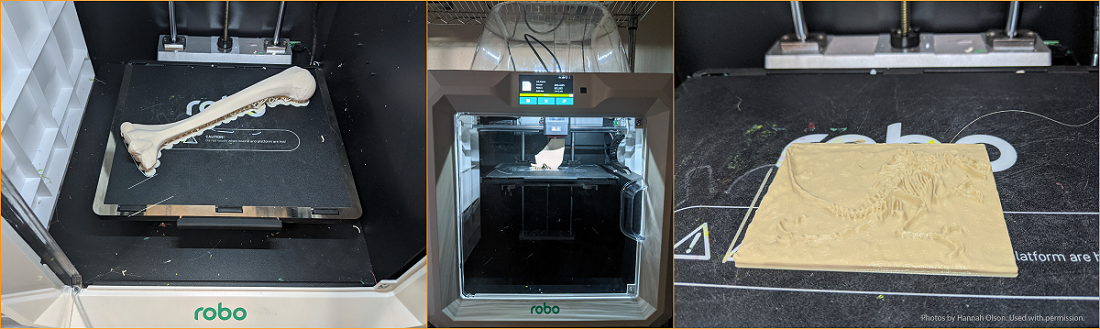
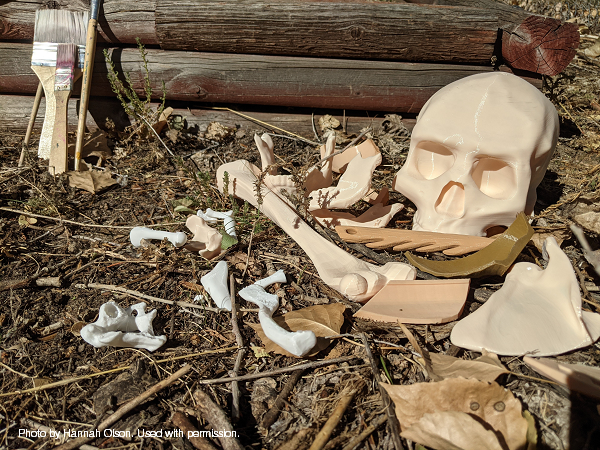
There are dozens of ready-to-3D print models available online for either of these types of excavations. Both Thingiverse and MyMiniFactory have great collections of bones, artifacts, and fossils ready to 3D print. Simply use the search bar to find what you’re looking for and select only free models. Be sure to look for .stl or .obj files and check if anyone has already printed the files to make sure they are good models for 3D printing. If you have a subscription to our curriculum platform MyStemKits, you can print from our Pottery Shards Kit, Animal Teeth Kit: Prehistoric Expansion, and/or Hominid Species and Tools Kit to help build out a dig site.
When possible, 3D print objects for your dig at full size so students can try to identify the original species or purpose of the found object. For advanced 3D modelers who have smaller printers like the Robo E3, print shards or portions of larger objects (simulating pieces that broke off) so that they can still be printed at 100% size. For users with large printers like the Robo E3 Pro, consider printing out full-size bones or fossils for the reasons mentioned earlier.
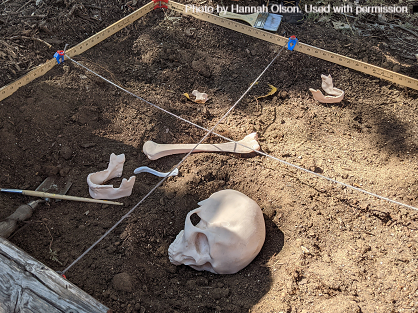
Once you’ve printed a collection of objects for the excavation, clear out a section of dirt or use a portable sandbox to create the dig site. Bury the objects at different layers and locations, being deliberate about how, what, and where. For instance, bury multiple finger bones near each other but bury a shoulder bone a short distance away. For fossils, bury older specimens deeper in the dirt or sand, and more recent species higher.
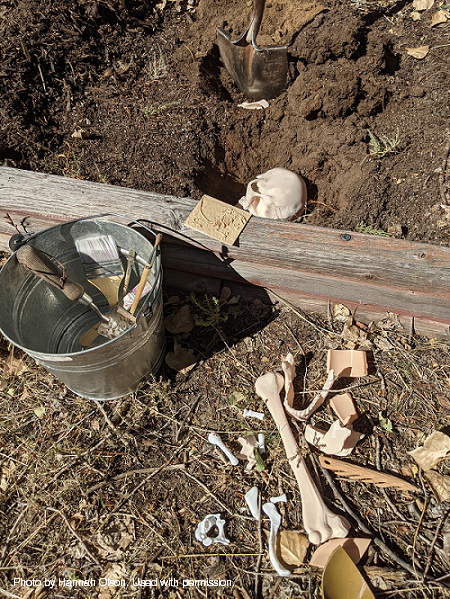
After preparing the dig site and doing the aforementioned intro activity with your class, it’s time to dig in! Consider looking for an online video showing how archaeologists or paleontologists work. There lots of good videos available so find one that fits your theme and is appropriate for the age of your students. Point out that both archaeologists and paleontologists must be very careful and precise in how they dig so as not to break any of the artifacts. They also need to keep track of where the objects are found. Once students have this understanding, pass out supplies and any worksheets for students to complete. As much as possible, provide students with tools similar to what the professionals use such as brushes, calipers, buckets for removed soil, picks, and so forth.
Bring your class out to the dig site(s). Here you can emphasize different math and/or science concepts and skills. For example, your students should keep track of both where they located each artifact as well as how deep the object was buried. Using meter sticks, or the Meter Stick Quadrant Kit from MyStemKits, identify the location of the found object on a grid. For 5th graders and up, challenge students to denote the location using coordinates.
For art and language arts integration, have the students draw each artifact they find and write out their guess about what the object is and its original purpose. Encourage students to use any new vocabulary introduced prior to the dig such as civilization, bone, fossil, artifact, pottery. Our included sample worksheet lays a good foundation for these types of activities.
Ideas for an Archaeology Dig
Integrate human anatomy buy burying different bones. Find out if students can identify the type of bone they found and whether the bones look like they belong to a male or female, adult or child. Can they identify where the bone would fit on a skeleton? Do they have enough information to determine that? Encourage them to take measurements and use that data to justify their reasoning.
If they find artifacts, what do the artifacts tell them? For each piece, Was it a functional piece, such as a cup or a bowl, something more spiritual such as sculptures of deities, or even a child’s toy? Can the students identify the era or location of the dig site simply by what they unearth? For instance, if you’re doing a unit on ancient Egypt, look for scans of Egyptian artifacts online to see if there are any you can include in your dig site.
Ideas for a Paleontology Dig
For a paleontology dig, have students differentiate whether a fossil belonged to a plant or animal. Using the fossil, have them speculate on the overall size of the organism. If students identify the fossil as a dinosaur tooth, can they identify the type of food it ate? From the MyStemKits collection, you can print out a collection of both modern and prehistoric animal teeth, such as T-Rex teeth. You can also find dinosaur claws and Megalodon teeth from a variety of free 3D model sites.
Depending on the fossils, can the students identify the ecosystem or environment of the area? Are they finding the remains of aquatic or land plants and animals? Integrate this information and data with further study on ecosystems including habitats, food webs, and animal adaptations.

The Finish
Finally, cap off the dig activity by having students write about what they found, where they found it, and what they believe about the area they excavated. Challenge them to use appropriate math, science, and social studies terms, paying attention to writing conventions appropriate to their grade level. For alternative means of presenting their findings, have students build a slide deck, record a video review, or create an infographic or poster. However you decide to capstone this project, your students will absolutely love this hands-on exploration of science, history, and two fun and engaging STEM career paths.
If you and your class do a dig, please share your results with us in the comments or by tagging us on Twitter @boxlightinc and @mimioSTEM, and Facebook @boxlightusa. We can’t wait to see the messy fun you create!
Do you want to see this dig activity in action? Watch the video.
If you would like a copy of the worksheet used for this dig, click here: Excavation Journal.
For more information on our award-winning turnkey 3D printer and STEM curriculum solution, go to boxlight.com/robo.


